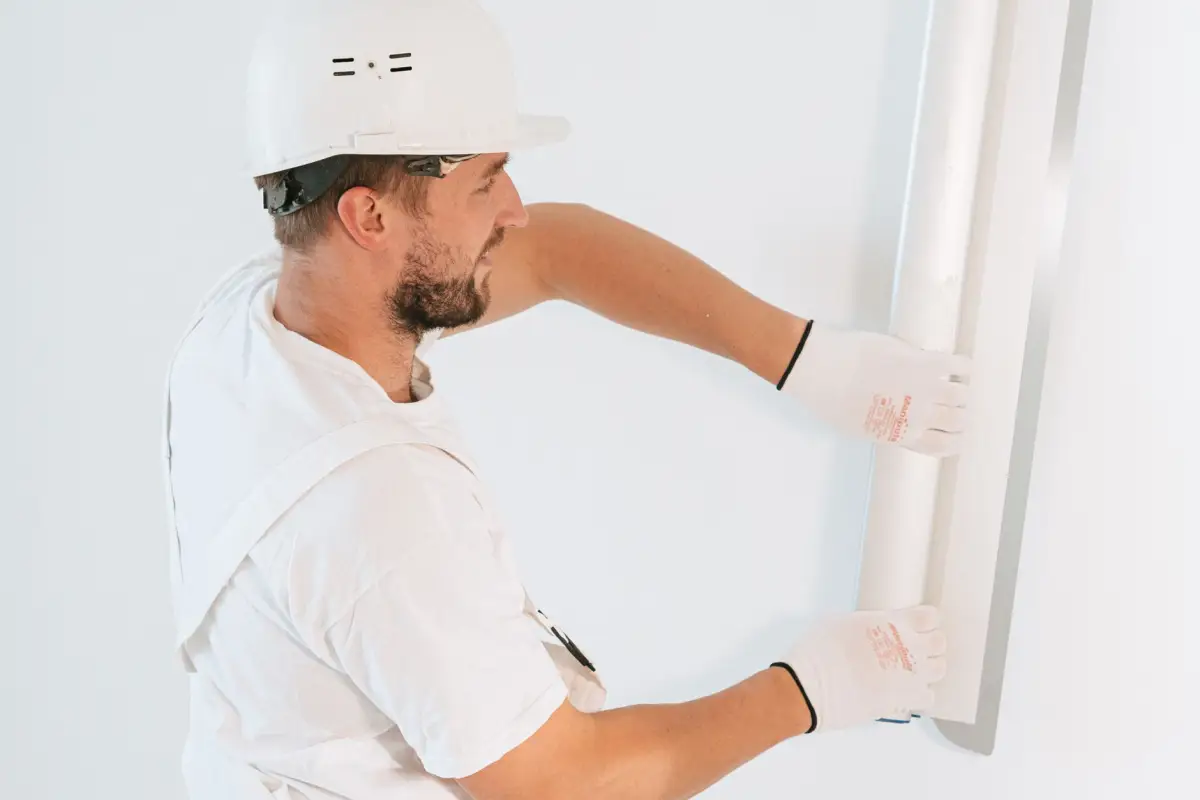
Drywall Installation in Naperville, IL
New builds, additions, basements, and garages hung and finished from bare studs, with board selected by room type and quoted on-site.
Naperville Elite Drywall is your local resource for drywall installation throughout Naperville, IL. We help homeowners connect with an experienced drywall professional for new construction, additions, basement finishing, and garage builds.
Installation is a different job than repair — it starts with framing that's never had board on it, which means the professional you're connected with is making decisions a repair visit never has to: board thickness, fastener spacing, which rooms need moisture-resistant or Type X fire-rated board, and how the seams get planned before the first sheet goes up. A basement build-out in a Tall Grass or Ashwood Park subdivision has different needs than a garage conversion in an older part of town — ceiling height, insulation behind the board, and whether the space needs a fire-rated separation from an attached garage all change the plan.
Most installation jobs cover hanging, taping, mudding, sanding, and a texture or smooth finish ready for primer — the same keyword cluster homeowners search under "drywall hanging," "drywall finishing," and "new construction drywall." A home addition or a White Eagle-area basement remodel usually gets scheduled around the framing inspection, since board can't go up until that's signed off.
What’s Included in Your Drywall Installation Quote
- Board selection by room (standard, moisture-resistant, or Type X fire-rated)
- Hanging, screwing off, and corner bead installation
- Taping, mudding, and sanding to a paint-ready finish
- Texture match or smooth finish, homeowner's choice
- Debris removal and dust containment during the job
Drywall Installation for Every Room Type
New Construction Drywall Installation
A full-house install on new framing is the most straightforward version of this job, since there's no existing texture to match and no furniture to work around. The professional you're connected with works off the builder's or architect's finish schedule, which usually specifies board thickness (1/2 inch for most walls, 5/8 inch for ceilings and fire-rated assemblies) and which rooms need moisture-resistant board. Framing gets inspected before board goes up, and the finish level gets set up front so it's not a mid-project decision.
Home Addition Drywall Installation
An addition has to tie into existing walls, which is the part that trips up a rushed job — the new drywall's thickness, texture, and paint sheen all need to match what's already there, or the seam between old and new shows under normal lighting, let alone the raking light from a window. This is where a texture sample gets tested on a scrap board before anything goes up on the addition itself, and why an addition often takes longer per square foot than an equivalent new-construction room.
Basement Drywall Installation
Basements bring moisture and low ceiling height into the plan. Board near a bathroom, laundry hookup, or any exterior wall below grade is usually moisture-resistant, and ceiling drywall often has to route around ductwork, plumbing, and electrical that a first-floor room never deals with. A basement in an older Naperville home may also need the framing checked for square before board goes up, since older foundations settle unevenly over decades.
Garage Drywall Installation
Garages attached to a living space almost always require Type X fire-rated board on the shared wall and ceiling — that's a building-code requirement in most jurisdictions, not an upsell, since it slows fire spread between the garage and the house. A detached garage or a garage being converted into living space has more flexibility on board type but still needs insulation and vapor-barrier decisions made before the board goes up, not after.
Drywall Hanging and Finishing
Hanging is screwing board to framing with the seams staggered so they don't line up on one stud; finishing is everything after that — tape, three coats of joint compound, sanding between coats, and a texture or smooth finish. The finish level requested (see "What Drives the Price" below) determines how many sanding passes and how much attention the seams get before they're primer-ready.
Signs You Need Drywall Installation
- Framing is up and inspected, but there's no drywall yet
- A home addition needs to tie into existing walls and ceilings
- A basement or garage is being finished into usable space
- An attached garage needs fire-rated board between it and the house
- A remodel opened up walls that now need to be closed back in
How Drywall Installation Works
- 1
Framing Check and Board Selection
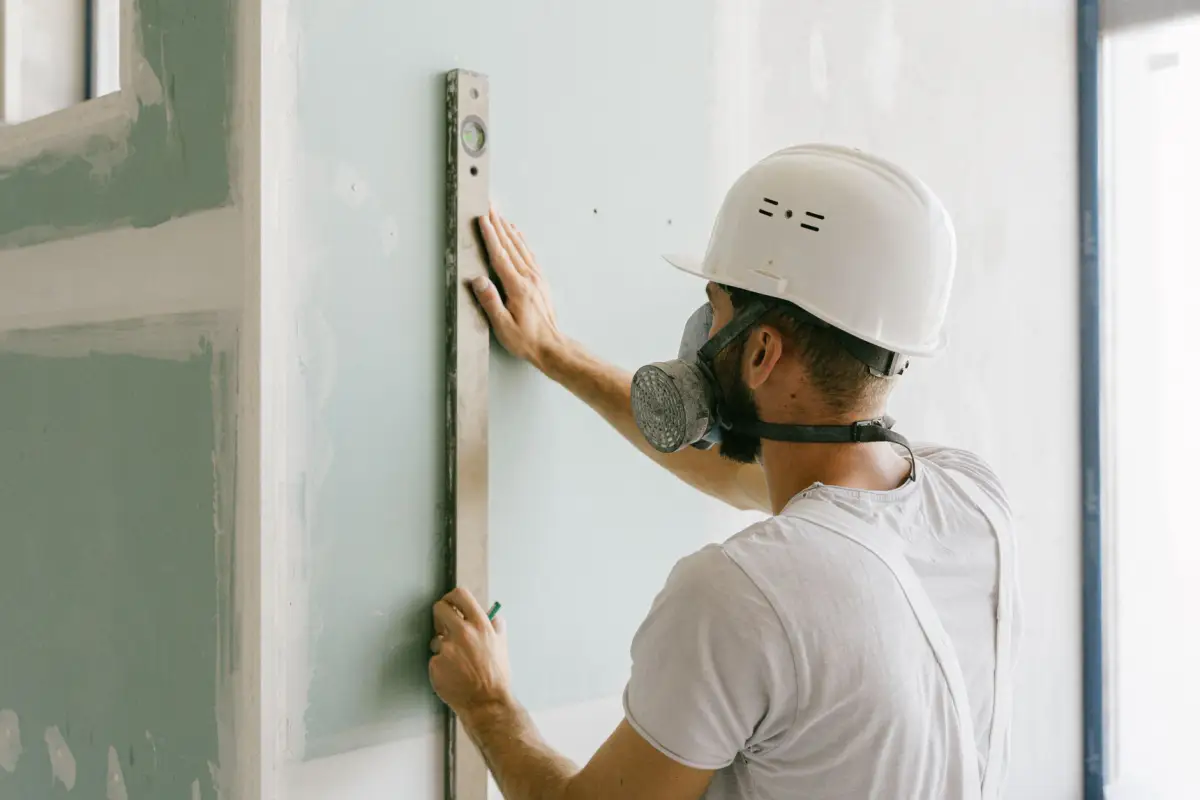
Before any board goes up, the framing gets checked for square and spacing — studs 16 or 24 inches on center, with blocking added anywhere a fixture or cabinet will need extra support later. This is also when board gets picked room by room: standard 1/2-inch board for most walls, 5/8-inch for ceilings (it resists sagging better over a wider span), moisture-resistant board near bathrooms and basement walls, and Type X fire-rated board anywhere code requires a fire separation, most commonly the garage-to-house wall and ceiling. Getting this step wrong is the single most common source of callbacks on a new install — a sagging ceiling six months later almost always traces back to standard board used on too wide a ceiling span, not a finishing mistake.
- 2
Hanging
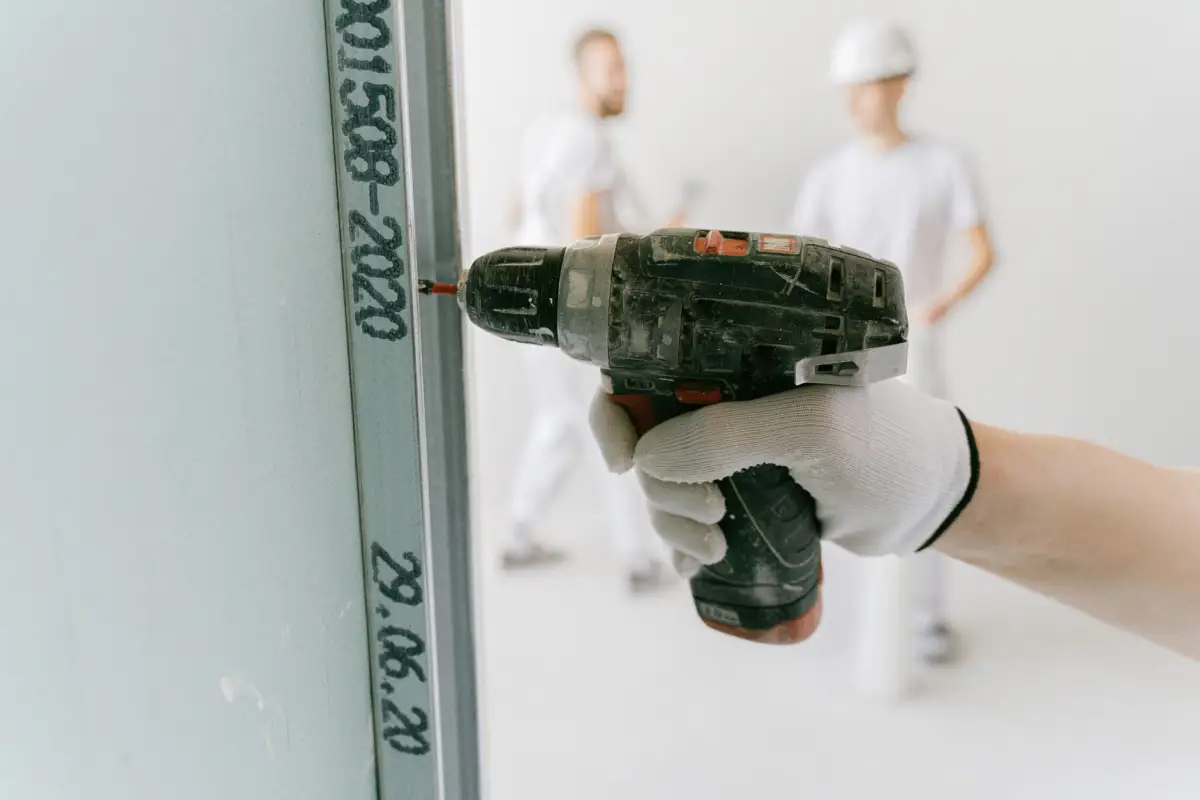
Sheets go up horizontally where possible, since a horizontal seam is easier to finish flat than a vertical one, and the seams are staggered so two boards never meet on the same stud. Fasteners are spaced and set just below the paper surface without breaking it, since an overdriven screw weakens the board's grip. Openings for outlets, switches, and light fixtures get cut before the board goes up, using a template rather than cutting freehand, which keeps the opening tight enough that a cover plate hides the edge cleanly.
- 3
Taping and Mudding
Paper or mesh tape goes over every seam and inside corner, embedded in the first coat of joint compound, followed by two more coats that each extend a few inches wider than the last — this is what "feathering out" a seam means, and it's why a seam that's finished correctly is invisible once painted while a rushed one telegraphs through under any angled light. Outside corners get metal or vinyl corner bead before mudding starts. Each coat has to dry fully before the next goes on, which is usually the longest stretch of the whole install — mud doesn't care about the schedule, it sets when it sets.
- 4
Sanding and Finish
Once the final coat is dry, seams get sanded smooth and checked under a work light held at a low angle — the same angle sunlight or a lamp will eventually hit the wall at, which is the only reliable way to catch a ridge or a shadow line before paint does it for you. From there the wall either gets primed as a smooth finish or textured to match the rest of the house (knockdown and orange peel are the two most common in this area). A final walk-through confirms every seam, corner, and fastener is flush and paint-ready before the job is called done.
What Does Drywall Installation Cost in Naperville, IL?
What Affects the Price
- Total square footage and number of rooms
- Board type required per room (standard vs. moisture-resistant vs. Type X fire-rated)
- Ceiling height and any vaulted or angled sections
- Finish level requested (see below)
- Access — a basement or garage with a tight stairwell or door takes longer to board than an open room
The biggest swing factor on an installation quote is usually the finish level, not the square footage — a Level 5 skim-coat finish under bright can lighting takes meaningfully longer than a Level 3 finish behind a textured wall, since every seam has to disappear under smooth, reflective light instead of hiding under texture.
What to Look for in a Naperville Drywall Contractor
Quoted On-Site, Not Over the Phone
Board type, finish level, and access all change the number — an accurate quote means someone actually looks at the framing first.
Finish Level Set Before Work Starts
The professional you're connected with confirms the finish level up front, so it's not a surprise sanding bill halfway through.
Dust Containment on Occupied Homes
Zip walls and floor protection are standard practice on any install happening in a home you're still living in during the project.
Familiar With Naperville's Housing Mix
From new-construction subdivisions to additions on older homes, the professional you're connected with has worked both.
Residential and Commercial Work
Residential
Most installation work is basements, additions, and garage conversions in existing homes, plus full-house installs in new construction throughout Naperville's newer subdivisions.
Commercial
Commercial buildouts have their own code and schedule requirements — see the dedicated Commercial Drywall Installation page for office, retail, and tenant-improvement work.
When This Isn’t the Right Fit
- If you're patching a single hole or crack, not boarding a new room, see Drywall Repair instead — installation pricing assumes framing with no existing drywall on it.
- If the framing itself hasn't passed inspection yet, that has to happen before board goes up — no professional should hang drywall over unapproved framing.
- If you want a specific contractor you've already worked with, outside this relationship, that's a call you're free to make directly.
Drywall Installation Beyond Naperville
- Drywall Installation in Aurora, IL
- Drywall Installation in Joliet, IL
- Drywall Installation in Elgin, IL
- Drywall Installation in Schaumburg, IL
- Drywall Installation in Bolingbrook, IL
- Drywall Installation in Wheaton, IL
- Drywall Installation in Downers Grove, IL
- Drywall Installation in Plainfield, IL
- Drywall Installation in Elmhurst, IL
- Drywall Installation in Lombard, IL
- Drywall Installation in Carol Stream, IL
- Drywall Installation in Romeoville, IL
- Drywall Installation in Oswego, IL
- Drywall Installation in Glendale Heights, IL
- Drywall Installation in West Chicago, IL
Frequently Asked Questions
- How much does drywall installation cost in Naperville, IL?
- It depends on square footage, board type, ceiling height, and finish level — a basement with standard board and a Level 3 finish costs less per square foot than a great room with vaulted ceilings and a Level 5 smooth finish. Get an immediate on-site quote for an exact number; a phone estimate can't account for framing condition or access.
- How long does drywall installation take?
- A single room typically takes several days once mudding starts, since each of the three joint compound coats needs to dry before the next goes on. A full basement or addition usually runs one to two weeks depending on size and finish level.
- Does a garage need special drywall?
- An attached garage typically requires Type X fire-rated board on the wall and ceiling shared with the house — this is a building-code requirement in most jurisdictions, meant to slow fire spread, not an optional upgrade. Confirm the requirement with Naperville's building department for the specific project.
- What's the difference between drywall thickness options?
- 1/2-inch board is standard for most walls; 5/8-inch is typically used on ceilings and fire-rated assemblies because it resists sagging over a wider span and offers better fire resistance. The right choice depends on the framing spacing and the room's function.
- Do I need a permit for a basement or garage drywall install?
- Most finished-basement and garage-conversion projects require a permit in Naperville, since they change how a space is used. Check with the City of Naperville's permit office before work starts — this is worth confirming even if the framing was done by someone else.
Learn More
- Gypsum Association — Fire-Resistant Assemblies — Industry technical standards for board type, fire ratings, and assembly requirements.
- City of Naperville — Building Permits — Permit requirements for basement finishing, garage conversions, and additions.
Need Drywall Installation in Naperville, IL?
Tell us what’s going on and get an immediate on-site quote — no charge for the estimate, and no obligation to book it.
Get My Free Estimate