Drywall Finishing in Naperville, IL
Taping, mudding, and sanding brought to whatever finish level a room actually needs — from a basic textured wall to a Level 5 smooth finish under bright lighting.
Naperville Elite Drywall is your local resource for drywall finishing throughout Naperville, IL. We help homeowners connect with an experienced drywall professional who matches the finish level to the room, not just the budget.
Finishing is the step between hung drywall and a paint-ready wall, and it's where a lot of the visible quality difference in a finished room actually comes from — two houses can be framed and hung identically and still look completely different once the taping and sanding is done. The finish level (Level 0 through Level 5, an industry standard maintained by the Gypsum Association) determines how many joint compound coats, how much sanding, and how forgiving the wall is under different lighting.
A hallway near Naperville Crossings with standard overhead lighting doesn't need the same finish level as a great room with floor-to-ceiling windows and recessed can lighting that rakes across every seam at a low angle. Getting the finish level matched to the room — not defaulting to the cheapest option everywhere, or over-paying for Level 5 in a closet — is most of what a finishing quote actually comes down to.
What’s Included in Your Drywall Finishing Quote
- Taping of all seams and inside/outside corners
- Three-coat joint compound application, feathered and sanded between coats
- Finish level matched to the room and lighting conditions
- Final sanding and raking-light quality check
- Prime-ready or texture-ready surface, homeowner's choice
What Drywall Finishing Actually Involves
Drywall Taping
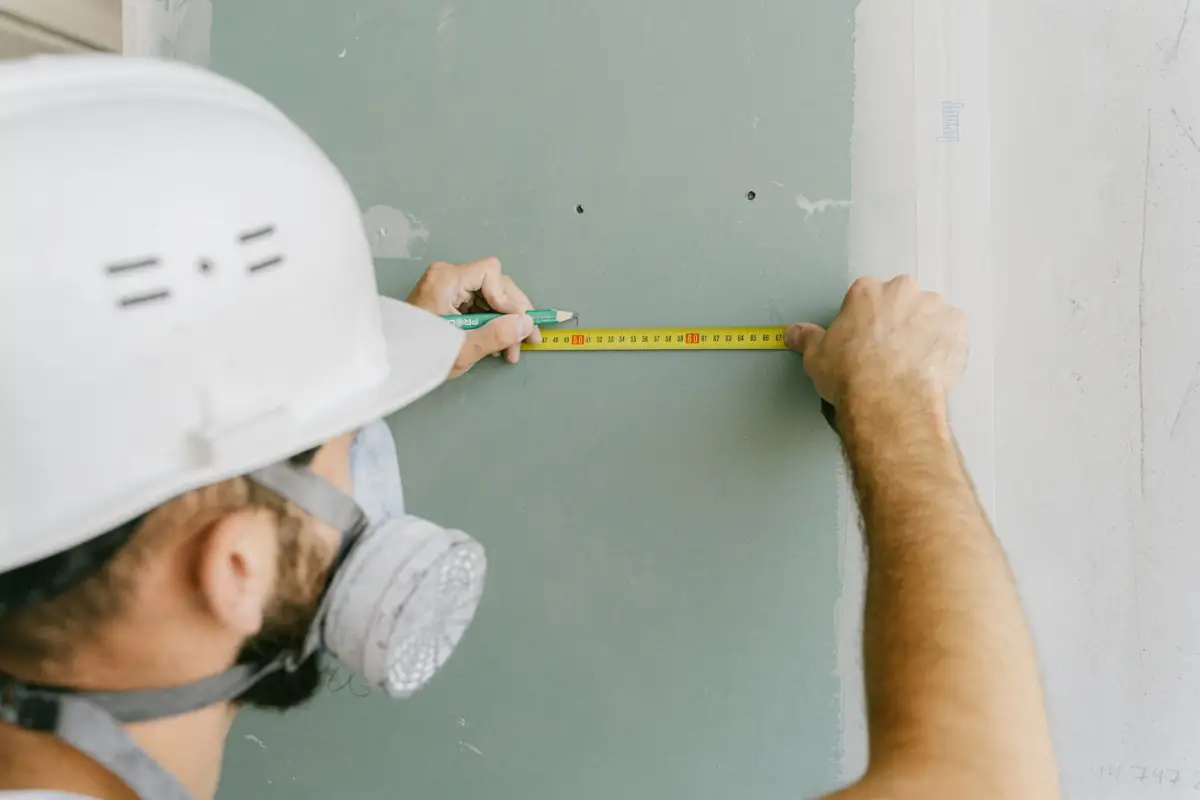
Every seam and inside corner gets covered with paper or mesh tape embedded in the first coat of joint compound — this is what actually holds the joint together and keeps it from cracking as the house settles seasonally. Outside corners get metal or vinyl corner bead before taping starts, since those edges take the most physical wear over time (a bumped corner is one of the most common spots for damage later). Taping quality at this stage determines whether every coat that follows goes on smoothly or fights an uneven base.
Drywall Mudding
Three coats of joint compound go over the tape, each one wider than the last so the seam feathers out gradually instead of ending in a hard ridge. The first coat embeds the tape, the second widens and smooths it, and the third is the finish coat that gets sanded flat. Each coat needs to dry fully before the next goes on — this drying time, not the actual application, is usually what makes finishing take longer than people expect, since mud sets on its own schedule regardless of the project deadline.
Joint Compound Application
Different situations call for different compound types — all-purpose for general taping and finishing, lightweight for easier sanding on upper coats, and setting-type "hot mud" when a same-day second coat is needed instead of waiting overnight for standard compound to dry. Choosing the right compound for each coat is part of what separates a finish that sands smooth in one pass from one that takes three passes to get flat.
Drywall Sanding
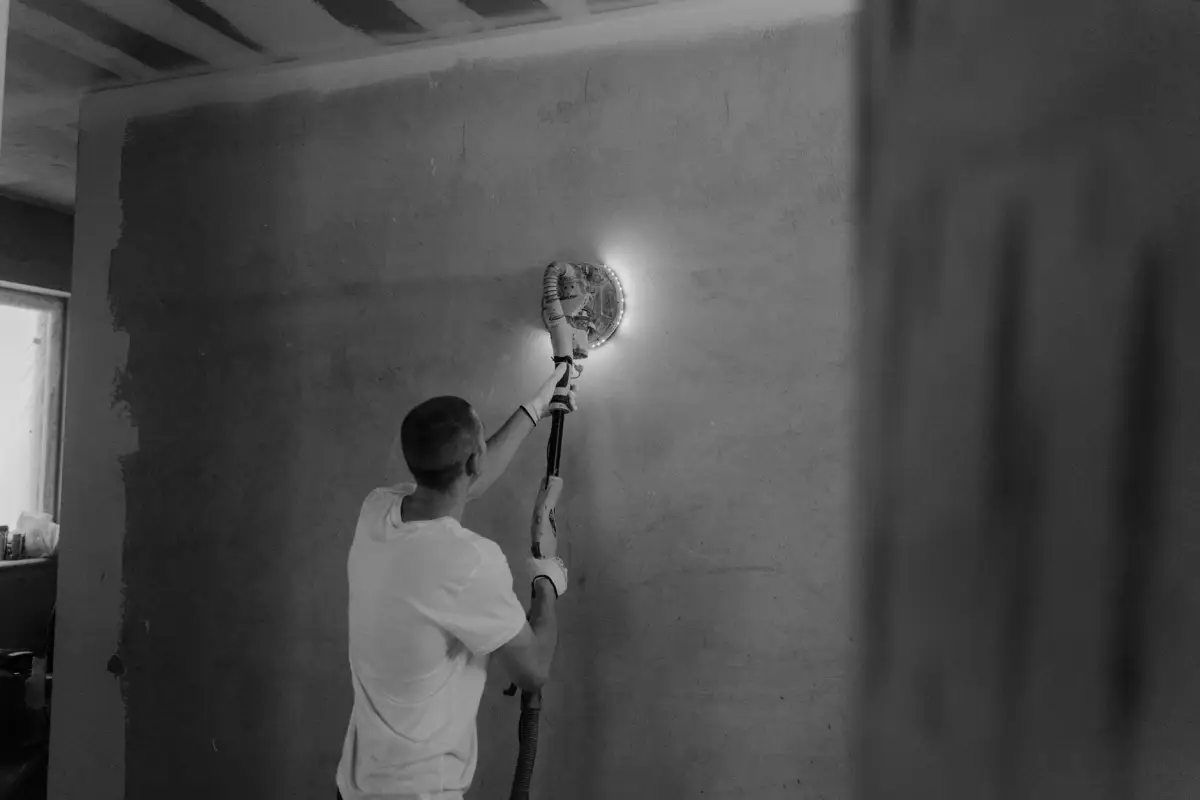
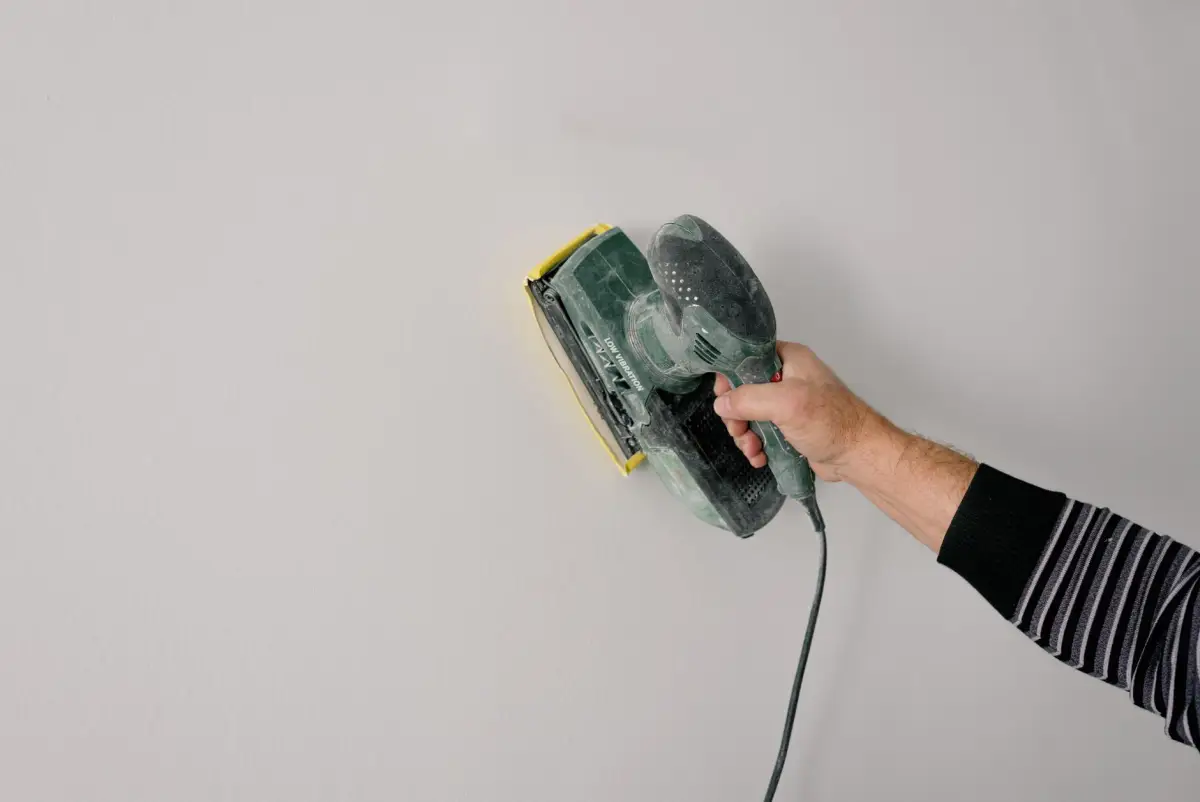
Sanding happens between coats to knock down ridges before the next layer goes on, and again at the end for the final smooth surface. This step generates a lot of fine dust, which is why dust containment (zip walls, floor protection, sometimes a sanding sponge with a vacuum attachment instead of dry sanding) matters on any finishing job happening in an occupied home. The final sanding pass is checked under a raking light — a work light held low against the wall — since that's the only reliable way to catch a ridge or a shadow line before paint would.
Paint-Ready Drywall Finishes
Once sanding is complete and the wall passes the raking-light check, it's ready for either primer directly (for a smooth finish) or a texture application if that's what the room calls for. A wall that's genuinely paint-ready shouldn't show any seams, ridges, or fastener dimples once primer goes on — if it does, that's usually a sign the finish level wasn't matched to the room's lighting in the first place.
Signs You Need Drywall Finishing
- Newly hung drywall that needs taping and mudding before it can be painted
- An existing finish that's showing seams or ridges under certain lighting
- A room getting new can lighting or larger windows that will show flaws the old finish level hid
- A remodel where some walls are new drywall and need to match the finish level of existing ones
- Wanting a smoother, more premium finish than what's currently on the walls
How Drywall Finishing Works
- 1
Assess the Room and Set the Finish Level
Before taping starts, the room's lighting gets factored into the finish level decision — a Level 3 or 4 finish is standard for most walls and rooms with typical lighting, while a Level 5 skim coat is usually reserved for rooms with strong raking light (floor-to-ceiling windows, dramatic recessed lighting, or a smooth accent wall meant to read as flawless). Setting this up front, per the Gypsum Association's standard finish-level definitions, avoids the situation where a homeowner is unhappy with a Level 3 wall under lighting that really called for Level 5.
- 2
Tape and First Coat
Tape goes over every seam and inside corner, embedded in the first coat of compound while it's still wet, which is what actually bonds the tape to the board rather than just laying it on top. Outside corners get corner bead installed first. This coat is applied slightly wider than the tape itself so there's material to feather out in the coats that follow, and it needs to dry fully — usually overnight for standard compound — before the second coat starts.
- 3
Second and Third Coats
The second coat widens the seam further and starts smoothing out the transition; the third is the finish coat, applied as smoothly as possible to minimize sanding. Each coat gets a light sanding pass once dry to knock down ridges before the next layer goes on. For a higher finish level, an additional skim coat may be applied across the entire wall surface, not just the seams, which is what gives a true Level 5 finish its uniformly smooth, unbroken look.
- 4
Final Sand and Light Check
Once the last coat is fully dry, the entire surface gets sanded smooth and checked with a work light held low against the wall — the same angle real light will eventually hit it at. Any ridge, dip, or visible seam gets addressed with a spot skim coat and re-sanded before the wall is called finished. This is the step that actually determines whether the finish level chosen at the start delivers on what it was supposed to — a rushed final check is how an otherwise good finishing job ends up disappointing under the room's real lighting.
What Does Drywall Finishing Cost in Naperville, IL?
What Affects the Price
- Finish level requested (Level 3 through Level 5)
- Total square footage of walls and ceilings being finished
- Lighting conditions in the room (more natural or raking light generally calls for a higher finish level)
- Whether it's new drywall or bringing an existing finish up to a higher level
- Access and whether the space is occupied, requiring dust containment
A Level 5 finish typically costs more than a Level 3 or 4 finish for the same square footage, purely because of the extra skim coat and sanding time across the whole surface — but it's also the difference-maker in rooms with strong natural or recessed lighting, where a lower finish level would show every seam.
What to Look for in a Naperville Drywall Contractor
Finish Level Matched to the Room
Lighting conditions get factored in up front, so you're not over-paying for Level 5 in a closet or under-finishing a sunlit great room.
Checked Under Real Lighting
Every finish gets a raking-light check before it's called done, not just a glance from a few feet back.
Dust Containment on Occupied Homes
Zip walls and floor protection are standard practice for finishing work happening in a home you're still living in.
Consistent Finish Across a Remodel
New drywall gets finished to match the level of existing walls, so a partial remodel doesn't read as two different jobs.
Residential and Commercial Work
Residential
Most residential finishing work is new installation, remodels adding new drywall next to existing walls, and upgrades from a lower finish level to Level 5 in a specific room.
Commercial
Commercial finish schedules are usually spec'd by an architect or general contractor — see the dedicated Commercial Drywall Finishing page for Level 4 and Level 5 project work.
When This Isn’t the Right Fit
- If you just have a single hole or crack to fix, that's a repair job, not a finishing job — see Drywall Repair instead.
- If your walls already have a finish you're happy with, there's no reason to upgrade the finish level just because a higher one exists.
- If you want a specific contractor you've already worked with, outside this relationship, that's a call you're free to make directly.
Frequently Asked Questions
- What are drywall finish levels?
- The Gypsum Association defines six levels, 0 through 5, based on how much taping, coating, and sanding is applied. Level 0 is unfinished, Level 3-4 is standard for most walls, and Level 5 is a full skim coat used where lighting would otherwise show every seam.
- How much does drywall finishing cost in Naperville, IL?
- It depends on the finish level requested and total square footage — Level 5 costs more than Level 3 or 4 for the same area, since it requires an extra skim coat and sanding pass across the whole surface. Get an immediate on-site quote for an exact number.
- How long does drywall finishing take?
- Most of the timeline is drying time between coats, not application time — a typical room takes several days from first coat to final sanding, since each of the three coats needs to fully dry before the next goes on.
- Do I need Level 5 finish for my whole house?
- Usually not — Level 5 is most worth the added cost in rooms with strong natural light or dramatic recessed lighting that would show seams under a lower finish level. Most rooms with typical lighting look fine at Level 3 or 4.
- Can drywall finishing be done in an occupied home?
- Yes — dust containment (zip walls, floor protection) is standard practice for finishing work in a home you're still living in, though sanding does generate more dust than most other steps in a drywall job.
Learn More
- Gypsum Association — GA-214 Finish Level Standards — The industry-standard definitions for drywall finish levels 0 through 5.
- USG — Joint Compound and Finishing Technical Resources — Manufacturer technical guidance on compound types and finishing technique.
Need Drywall Finishing in Naperville, IL?
Tell us what’s going on and get an immediate on-site quote — no charge for the estimate, and no obligation to book it.
Get My Free Estimate